
You can create multiple views on the Home tab; add, delete, or rearrange the components that each displays. You can add up to a total of 40 snapshots, depending on your version of Quicken—so that each contains only the Quicken data that is most important to you.
Quicken lets you create a total of 11 views to track different financial areas.
Classic Dashboard
This topic describes an option on the Classic Dashboard. If you are using the Modern Dashboard, this feature is unavailable. See Using the Home tab (dashboard).
To add a custom view to the Home tab
-
Click the Home tab.
-
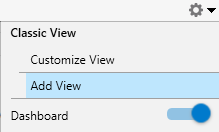
Make sure you are on Main View or another custom view, not Dashboard.
-
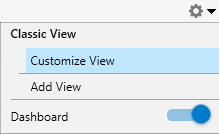
Click the gear icon and select Add View.
-
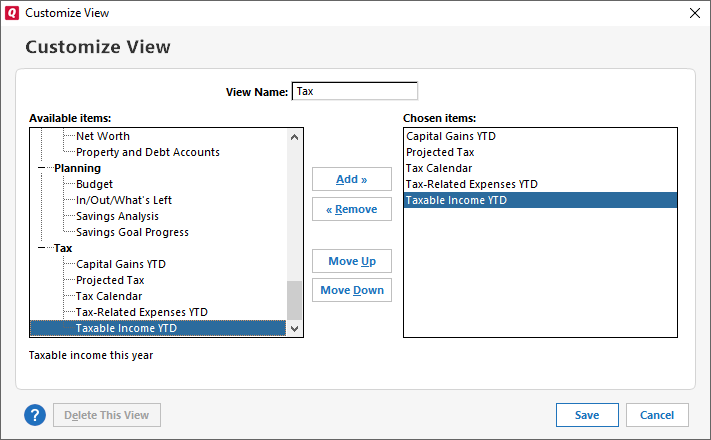
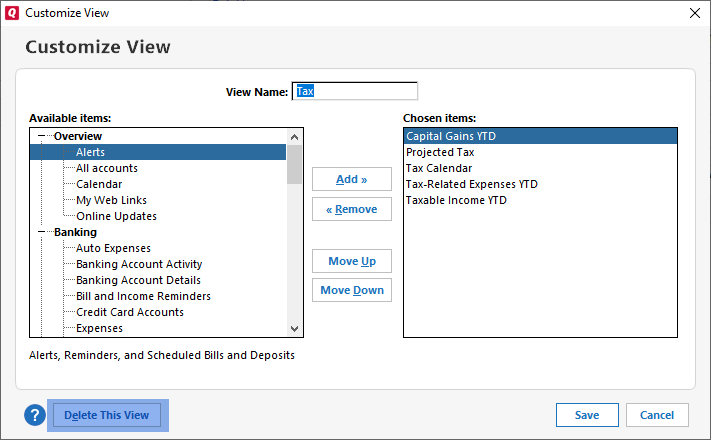
Enter a View Name.
-
Select any item under Available items, then select Add to add them to your Chosen Items.
To change the order of your items select the item you want to move and click Move Up or Move Down.
-
Click Save. Your new view will appear on the view bar.
To add items to the Main View or to a custom view of the Home tab (Classic View)
-
Click the Home tab.
-
On the top of the page, click the required view name.
-
Click the Gear icon

-
Select Customize View.
-
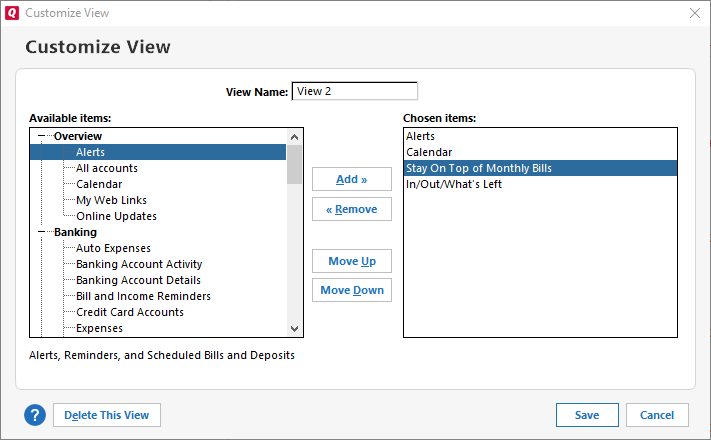
From the Available Items list, select the items to add to the selected view. (If necessary, click the plus sign next to a heading in the Available Items to display the list of items under that heading.)
-
Click the Add button.
-
Click Save.
To remove and rearrange items in a view (Classic View)
-
Click the Home tab.
-
On the top of the page, click the required view name.
-
Click the Gear icon

-
Select Customize View.
-
From the Available items list on the right side of the Customize View dialog, select an item to move or delete.
-
To remove the item, click the Remove button.
-
To reposition the item, click the Move Up or Move Down button until the item is in the desired position.
-
-
Click Save.
To expand or collapse items in a view
You can expand or collapse the items in a view. Simply click the expand (plus) icon or collapse (minus) icon on the upper left side of the item panel.
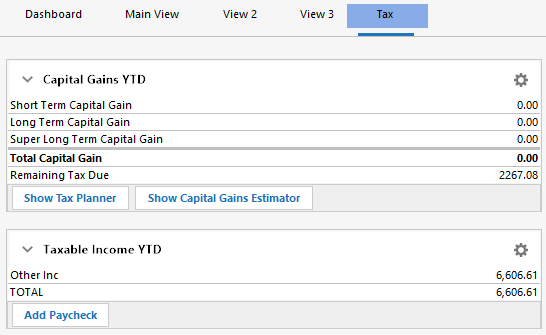
To navigate between views on the Home tab
-
Click the Home tab.
-
On the top of the page, click the required view name.
To delete a view
-
Click the Home tab.
-
On the top of the page, click the required view name.
-
Click the gear icon and select Customize View.
-
Click Delete This View.
Note
You can't delete the Main View unless you create another view.