Edit categories and tags
You have the flexibility to modify categories, subcategories, and tags at any time. Quicken then updates the details on all the transactions associated with the modified category/tag to reflect the new name and/or details.
Change/assign a category for a transaction
In your register, double-click in the Category column for the transaction you wish to edit.
Start to enter the new category name or click the up and down arrows
 to see a list of categories.
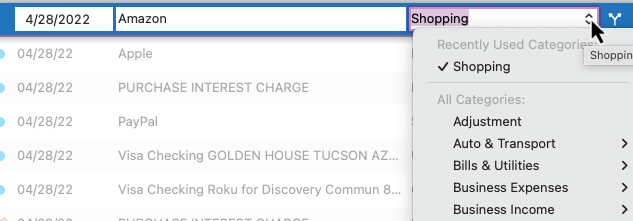
When you have selected the correct category, press the Return key. The new category will be entered.
See also: Split transactions
Change/assign a tag for a transaction
In your register, double-click in the Tag column for the transaction you wish to edit.
Start to enter the new tag name or click the up and down arrows
 to see a list of tags.
When you have selected the correct tag, press the Return key. The new tag will be entered.
Edit categories and subcategories
To edit categories or subcategories:
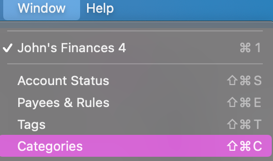
In Quicken, choose Window menu → Categories. Yes, there is a Window menu on Quicken for Mac. It's next to the Help menu. You can also use the keyboard shortcut Shift+Command+C.
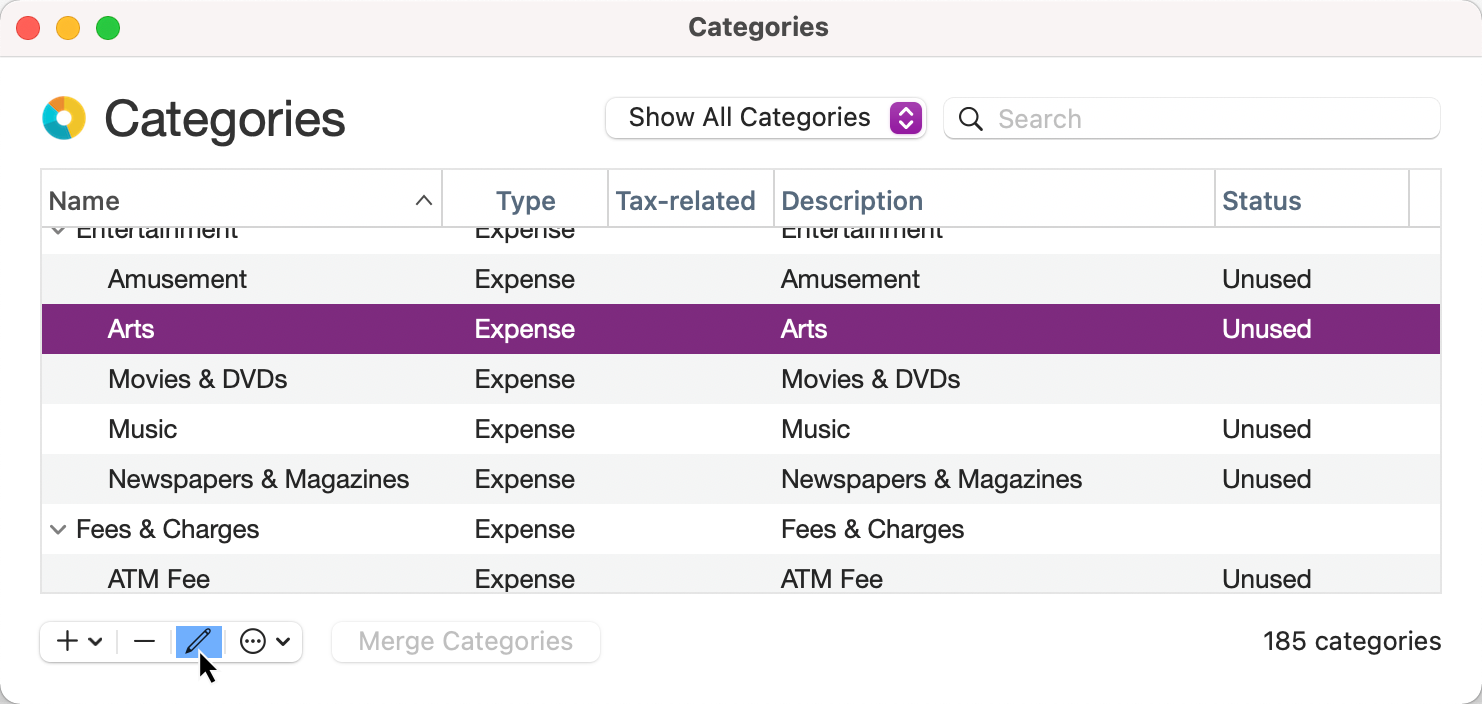
In the Categories window, select the category or subcategory.
Click the Edit icon.
Make the desired edits. You can modify the Name, Description, and Tax-related status.
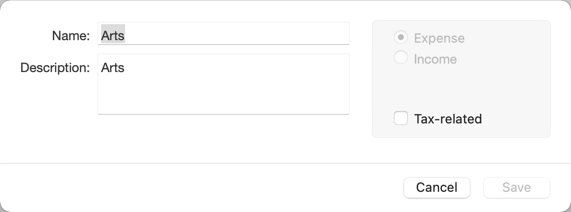
Click Save.
Edit tags
To edit tags:
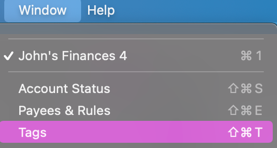
In Quicken, choose Window menu → Tags. Yes, there is a Window menu on Quicken for Mac. It's next to the Help menu. You can also use the keyboard shortcut Shift+Command+T.
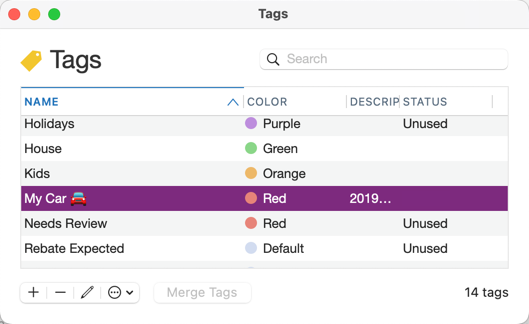
In the Tags window, select the tag.
Click the Edit icon.
Make the desired edits. You can modify the Name, Color, and Description. You can see a preview of what the tag will look like under Preview.
Emojis
You can add emojis to your Name or Description. You can access emojis using fn+E or going to the Edit menu and selecting Emojis & Symbols.
If your Mac has a touch bar, you may also see suggested emojis there.
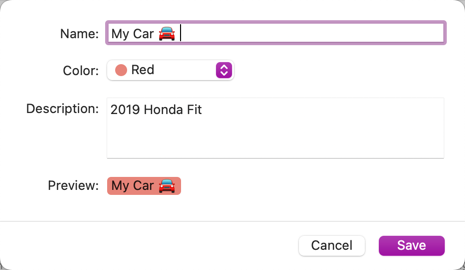
Click Save. Your changes will be saved.
