
For the most part, migrating from a different tier to Business & Personal (B&P) primarily means getting new features and is more about adding to your experience than changing it. With Categories, there are a few steps to migrating successfully. These only apply if you've used Quicken for tracking business transactions in the past.
Upgraded categories
B&P offers a new set of business income and expense categories that you can find in the Categories window. Moving forward, Quicken will automatically assign these new business categories to downloaded transactions as well. This step is only necessary if you previously used Quicken for Mac to track your business transactions.
We've revamped our software to offer true Business and Personal categories to provide you with more functionality, including those nifty business tax references.
What happens during the upgrade?
-
If you have never used the older categories associated with a business, they'll simply vanish.
-
If you did use them, they'll get a new name to avoid mixing them up with our newly introduced categories. For instance, an old Business category might be renamed to 'business expenses, old'.
-
We considered merging your old data with the new categories automatically, but we felt it was best for our customers to review their categories to avoid mix-ups.
Don't have much to migrate?
If you only used the business categories for a few transactions in the past, you may prefer to just go through your old transactions and change their categories. It gives you more control than migrating entire categories.
Migrating Categories
If you have used a different tier of Quicken for Mac to track your business transactions before, we want to help you migrate from the old categories you used to our new categories.
Best Method!
If you have just upgraded to B&P, another way to migrate your categories is to visit the Learning Center, and go through the Manage Business slides. As part of your introduction to the new features, you'll get to migrate your categories.
-
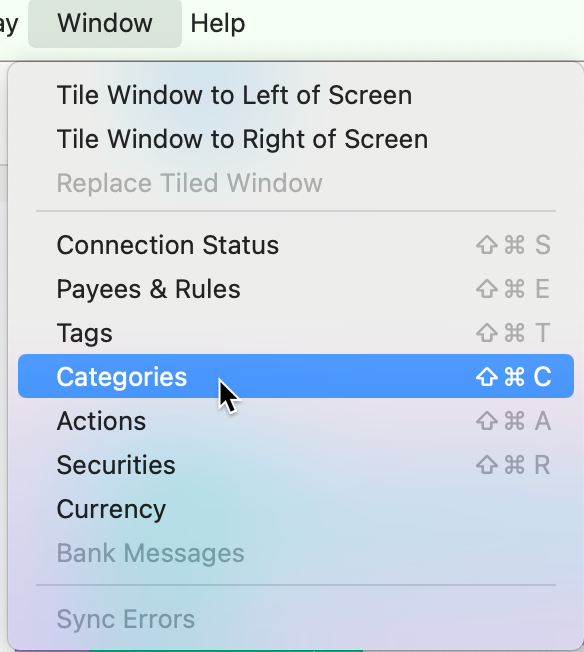
Go to the Window menu and select Categories.
-
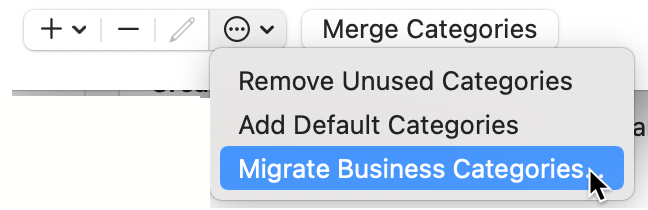
Go to the three-dot menu at the bottom of the screen and select Migrate Business Categories.
-
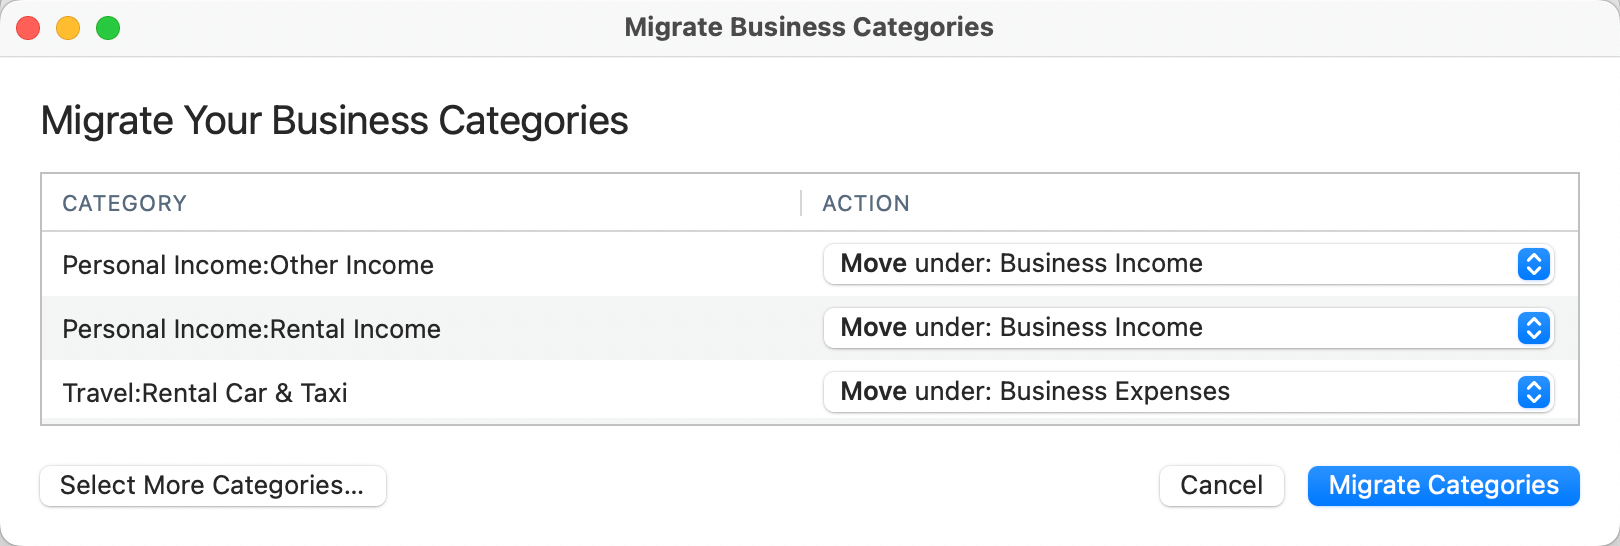
Review the list of categories and suggested Action. Make any changes you need to make. If you need to add more categories to the list, click Select More Categories in the bottom left. This can be the case if you were previously tracking business transactions with non-business categories such as Other Income or Rental Income.
-
Choose the appropriate Action for each category in the column on the right.
-
Select Migrate.
More Information
Merging old with new: If you want to blend your old categories with the new system, you might want to do this manually. This gives you control and ensures the smoothest transition.
Spotting the difference: Post-upgrade, business categories will be tracked using the new parent categories Business Expenses and Business Income.
Are you considering a downgrade?
Keeping your data: Even if you decide to downgrade, all your data stays intact. Your business categories will still be there, but they won't have those specialized business functions.
What Premier users should know: After downgrading, Premier users won't be able to craft new business categories. Also, those handy business reports? Those will be off-limits too.
Some points to consider:
-
If you downgrade by mistake and quickly hop back to an upgrade, you won't lose any data.
-
But, if you downgrade and then wait for a long stretch (let's say a year) before upgrading, your data might feel a bit out of date, though everything will still function.