Track and Invoice Clients for Billable Expenses
In Quicken, you can efficiently handle Billable Expenses by marking the transaction in the Register as Billable and assigning it to the appropriate Client and Business. Afterward, you may include the Billable Expense in an invoice. This guide offers detailed steps for tracking and invoicing these expenses.
Quick overview
Here are the basic steps to categorize and associate a transaction as billable:
Record the Billable Expense transaction in your register.
Create or edit the invoice to which you want to add the expense.
Add the Billable Expense to the invoice
Use the detailed instructions below for further guidance.
Categorizing a transaction as a Billable Expense
Recording and categorizing the Billable Expense in the register
All expenses begin in the register, where you can input details such as the payee, amount, and category. For downloaded transactions, review and update any missing details as needed. To record or edit an expense:
Navigate to the appropriate account register
Edit the transaction details. The transaction must contain the Business, Client, and a Business Expense category.
Mark the transaction as billable by checking the Billable checkbox
Save the transaction to categorize it as a Billable Expense.
Adding a billable expense to an invoice
Navigate to Business > Invoices and select Create Invoice or choose an existing invoice to edit.
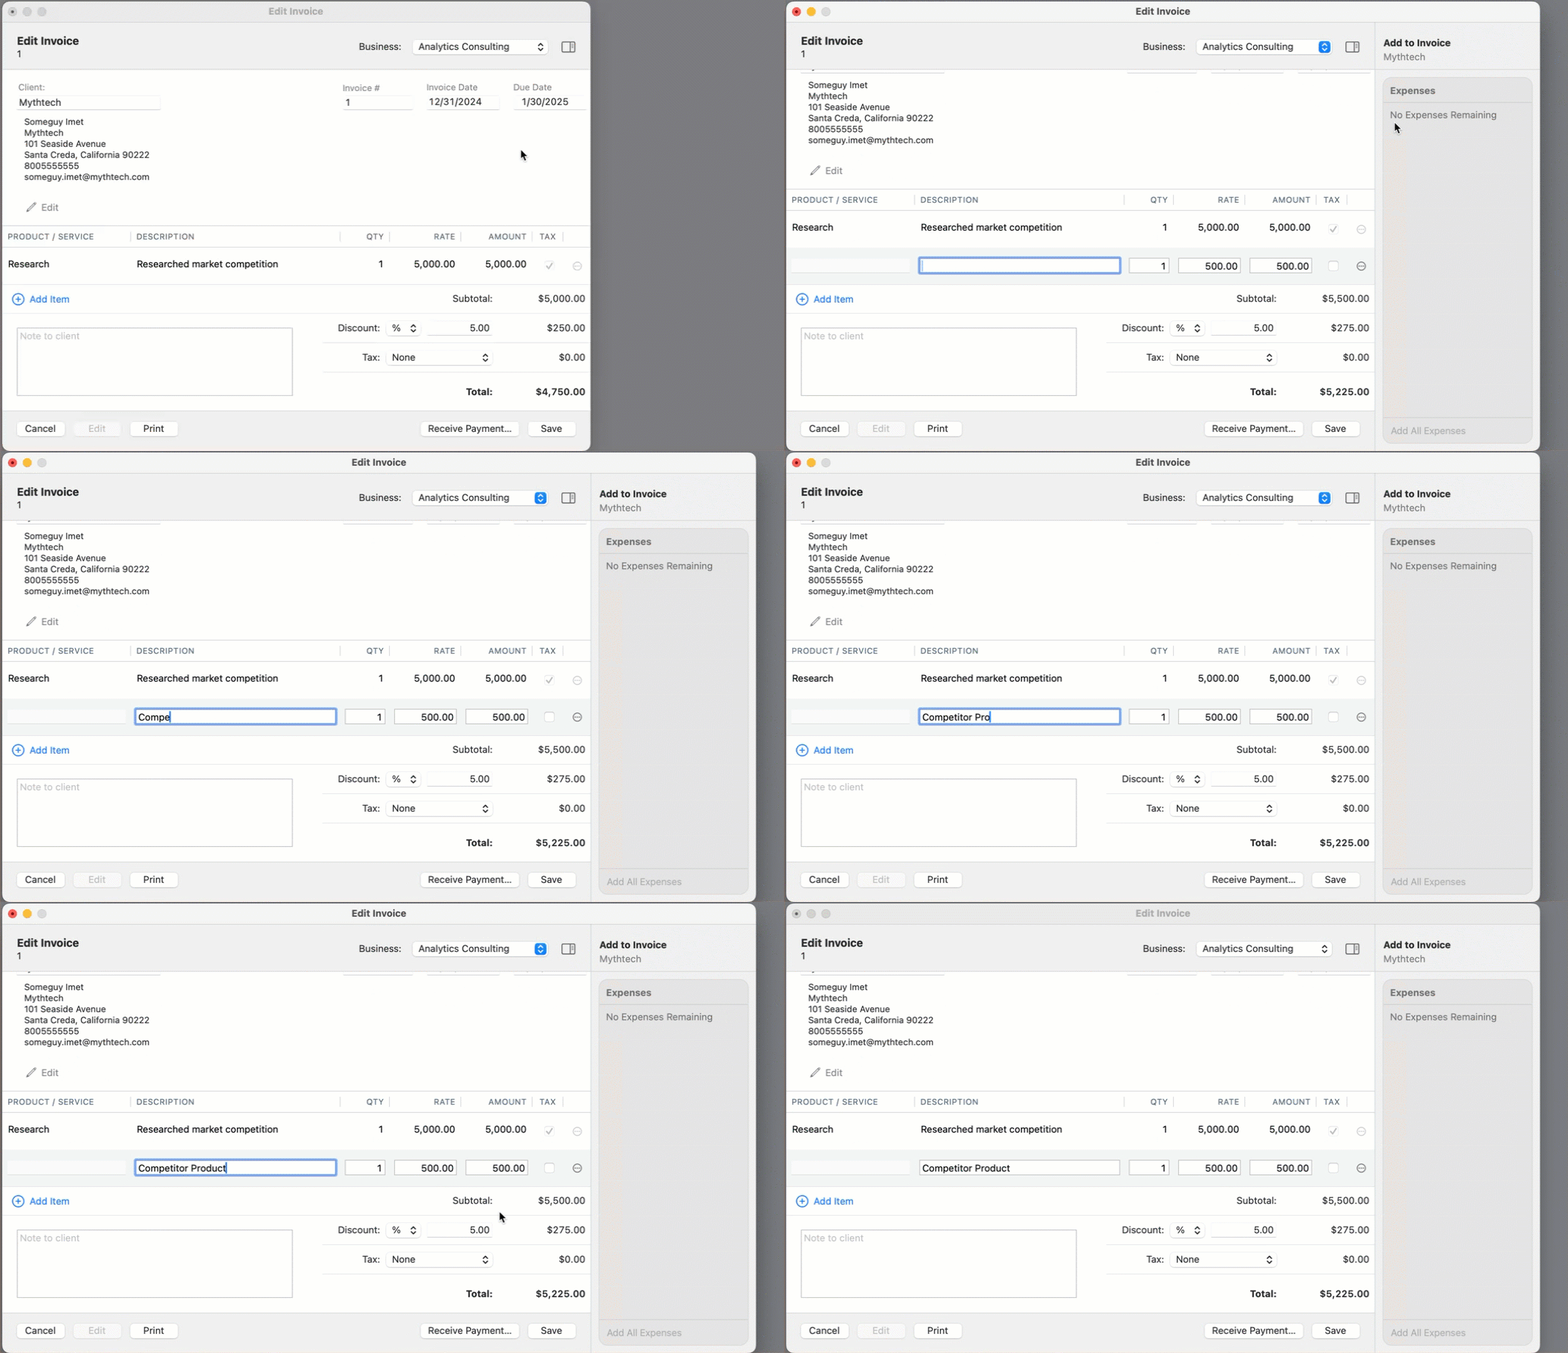
From the Add to Invoice drawer on the righthand side of the window, locate the Billable Expense(s) you would like to add.
This list will include any Unbilled expenses the Client has for this Business.
Select the billable expense(s) you want to include in the invoice
Add a Description for each expense to display on the invoice to be delivered to the ClientSave or send the invoice:
Select Save as Draft if you want to review or modify the invoice later.
Save and Print or Export Invoice as PDF if the invoice is ready to deliver to the Client
Things to keep in mind
Once a Billable Expense is added to an invoice, it cannot be used for another invoice.
If an expense is mistakenly added to an invoice, you must remove it before it can be added to another invoice.
Adding a billable expense to an invoice automatically links it, ensuring accurate tracking in your financial records.
Editing a Billable Expense transaction may unlink it from an invoice. For example, this can happen if you edit the Business or Client on the transaction or change the category to one that is not a Business Expense type.
